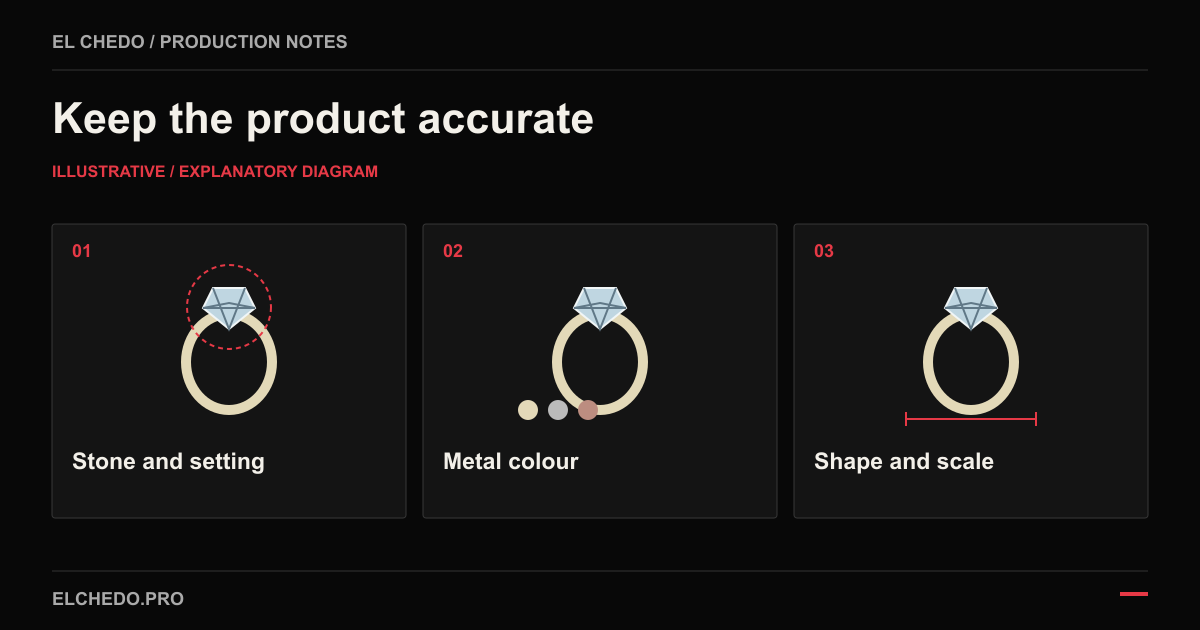
A ring campaign image can look impressive while showing a different ring. An extra stone, two merged prongs or a thinner band may go unnoticed on a small screen. The first jewellery approval question should be 'Is this the product on sale?' before 'Does it look luxurious?' This method checks the image's relationship with the product, regardless of the production tool.
1. Prepare the product reference before production
Record the product code and correct variant for every piece. Document the stone setting, clasp and connections through front, side, rear and close-up views. Keep sales dimensions, chain length and material descriptions in the same record. A single front photograph may be insufficient to verify the back of a ring generated from another angle.
Write a short list of details to check, alongside the photographs. The centre stone's shape, number of surrounding stones and band pattern could each be separate items. Ask the product owner to fill missing information instead of leaving the production team to guess. Our product photography shot list can help expand this record into a broader view plan.
2. Choose the method around the image's purpose
A main product photograph on a sales page and a campaign image expressing a collection's mood have different roles. Product accuracy matters in both, while the visible details and required references can differ. Evaluate the product layer, setting and worn image separately, instead of treating AI use as a single yes-or-no decision.
| Need | Approach to consider | Check before publication |
|---|---|---|
| Main product, clasp or macro detail | Real photography with retouching that preserves product structure | Do the workmanship and visible parts match the reference? |
| New background and campaign setting | Hybrid production combining a real product photograph with an AI setting | Have edges, light or reflections changed the product? |
| Product worn by a model | Real photography or a controlled hybrid method with verifiable details | Are scale, contact and the hidden side of the product correct? |
| Design idea not yet manufactured | Visualisation clearly labelled as a concept | Could the concept be confused with a product on sale? |
This table does not prescribe the same method for every project. A real photograph alone does not guarantee accuracy: intensive retouching can change the product. Likewise, a 'preserve the product' instruction does not prove that every generated detail was preserved. Approval should depend on comparing the resulting file with the reference, rather than on the method's name.
3. Check stones and connections individually
Look at the centre stone's shape first, then the number and arrangement of surrounding stones. Compare details hidden by highlights against another angle. Prongs may merge, penetrate the stone or disappear on one side. Chain links, earring clasps and bracelet connections should be checked rather than accepted because their overall line looks continuous.
Open the reference and final image side by side at a similar size, then zoom into critical areas separately. Use a physical sample during the review when available. Different camera angles do not require an exact pixel match; check the structural relationships between stones and parts. If there is insufficient evidence for a hidden detail, leave it unverified.
4. Assess metal, reflections and scale together
Metal can reflect the colours of its surroundings. Colour reflected from a warm background is different from changing a product variant between yellow, white or rose metal. Open a neutral reference image when approving metal tone. Screens and viewing environments can differ, so avoid relying on a single phone preview.
Ring band thickness, stone height and necklace length should stay consistent in worn images. Changing a model's hand or neck can quietly change the apparent product size. 'It looks natural on the hand' is insufficient without dimensions and a reliable worn reference. Check merged edges, missing links and incorrect shadows where jewellery contacts skin.
5. Make every correction a specific review task
A correction can affect other details. Avoid general feedback such as 'make it more realistic'. Record the product code, file version, problem area, expected feature and review result separately. Keep the new version distinct instead of silently replacing an approved file. This allows the product owner to see exactly which change they are assessing.
Resolve differences affecting product identity before approving an image for sales. Assess atmospheric preferences separately from accuracy. For reasons an image can also feel artificial, see our guide to light, shadow and texture errors in AI images. Believability and verification that the image shows the same product are both necessary.
6. Review the final file in its publishing context
Download the jewellery image review checklist. Record product code and variant, stone and connection structure, metal tone, perceived scale and file version together. Review the resized and cropped web version as well as the large working file.
On the product page, compare the main photograph with the worn image. If they suggest different products or sizes, changing the publishing order will not fix it: return to the source and correct the files. When planning product and jewellery photography with El Chedo, share product references and placements. The scope should explain which layers will be photographed, which will be generated and how they will be checked.